Complete Candle Crafting Kit with Wax Melting Set
Complete Candle Crafting Kit with Wax Melting Set
Couldn't load pickup availability
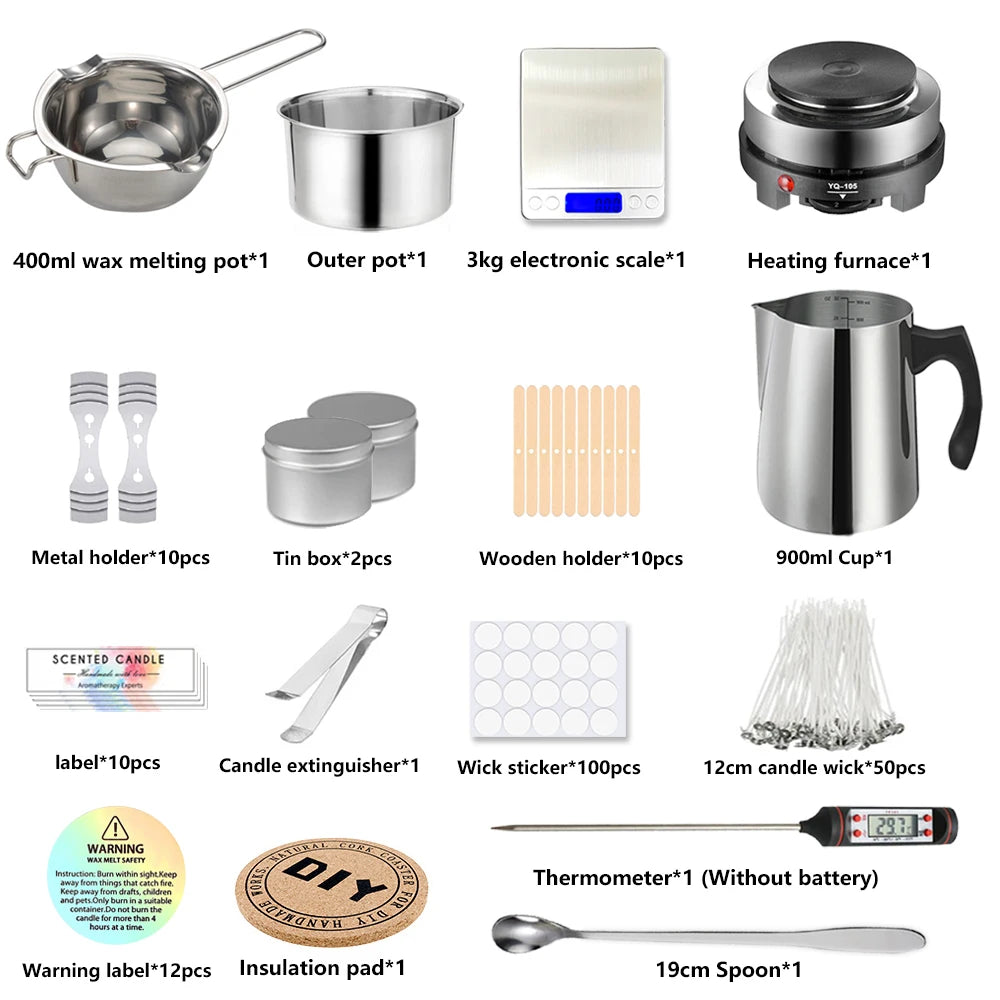
Discover the joy of candle-making with our Complete Candle Crafting Kit, ideal for beginners and hobbyists alike. This comprehensive set includes everything you need to start crafting beautiful, aromatic candles at home.
Features Include:
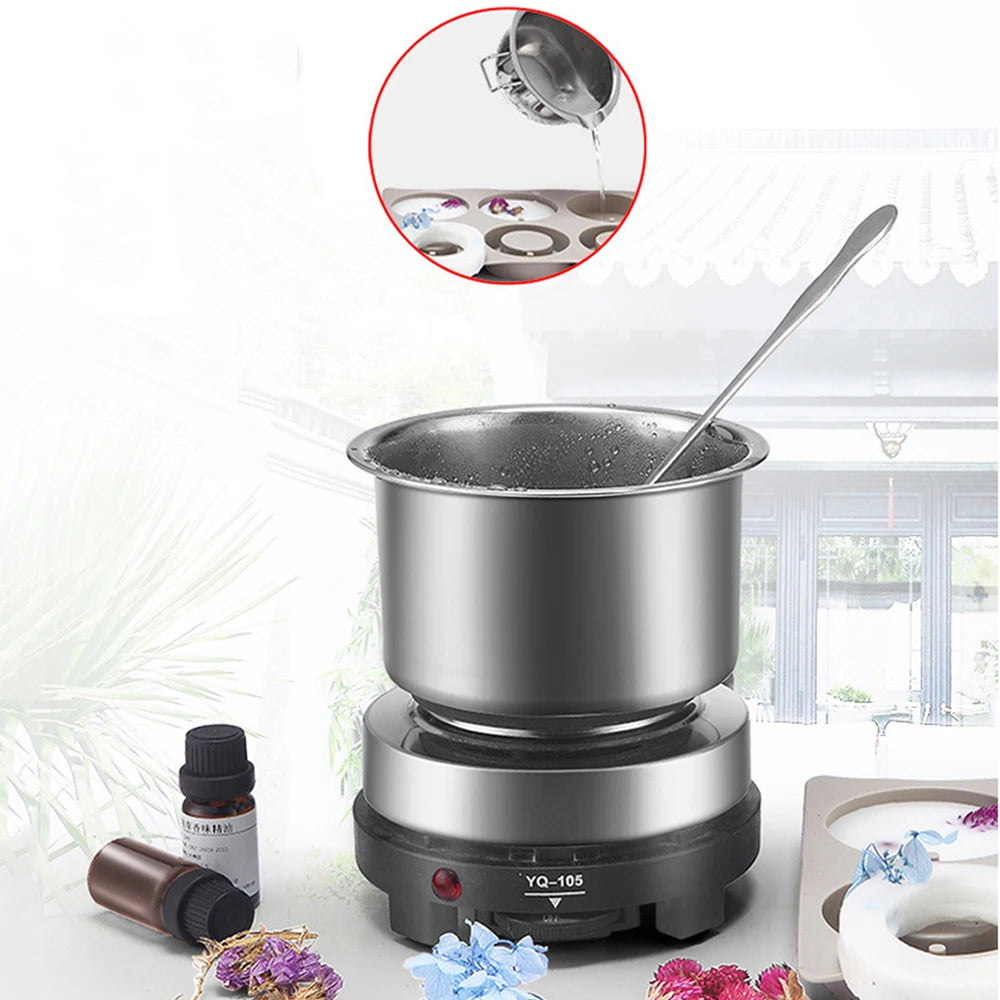
- Stainless Steel Wax Melting Pot: A durable stainless steel container perfect for melting wax on any induction cooker. Its high-quality material ensures even heat distribution for optimal wax melting.
- Induction Heating Furnace: Quickly melt wax blocks with our efficient induction cooker designed for safety and convenience.
- Precision Digital Scale: Measure your ingredients accurately with our digital scale, ensuring your candle recipes are consistent every time.
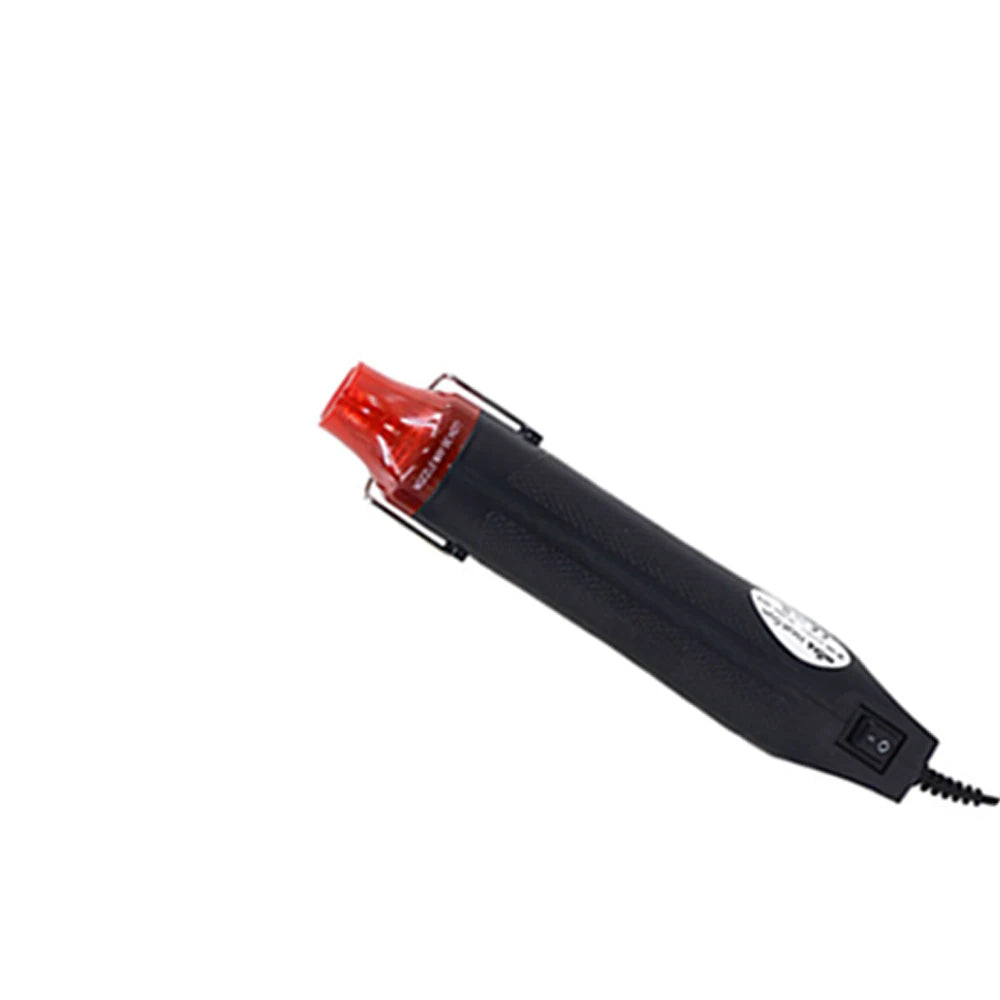
- Thermometer & Heat Gun: Maintain the perfect temperature with our easy-to-read thermometer, and use the heat gun to achieve a smooth, flawless finish on your candles.
- Wooden & Metal Stirring Tools: Mix your wax thoroughly with our wooden holder and long-handled metal spoon, designed for comfort and efficiency.
- Wick Essentials: Includes metal wick holder and adhesive wick stickers to keep your candle wick perfectly positioned for an even burn.
- Candle Extinguisher: Safely extinguish your candles without the hassle of smoke or wick splatter.
- Aromatherapy Candle Labels: Customize and label your handmade candles, ideal for gifts or personal branding.
🚚 Shipping Information
🚚 Shipping Information
We provide insured and tracked shipping for every order. The estimated delivery times after shipment are as follows: USA: 3-7 business days, UK: 7-18 business days, Australia: 7-18 business days, Canada: 7-18 business days, Europe: 7-18 business days, Rest of the world: 14-20 business days.
📦 Return Policy
📦 Return Policy
We have a strong affection for our products, and we believe that you will share the same sentiment. Therefore, we are providing a 30-Day Trial, free from any risks. If you are not fully satisfied with the outcome, we will reimburse you.
📔 Mini Beginner's Fountain Pen Guide
📔 Mini Beginner's Fountain Pen Guide
A lot of people think of fountain pens as archaic, inconvenient, or downright intimidating. But as soon as you first use a fountain pen, you realize that they’re really not that different from any other pen. Just touch tip to paper and write.
HOW TO USE A FOUNTAIN PEN
1) Unscrew the pen’s grip section from the barrel and grab the ink cartridge.
2) Insert the sealed end of the cartridge into the grip section until the seal is punctured and the cartridge slides firmly into place. The sealed end is usually the narrower end (but not always!), and it will be sealed with either a thin plastic membrane or a small plastic ball.
3) Reassemble the pen. It can take a while for the ink to fully saturate the pen, so don’t worry if it doesn’t start writing right away.
Many fountain pens can also use bottled fountain pen ink using either a built-in filling system or a cartridge-shaped device called a converter. Many people prefer bottled inks over cartridges because they come in far more colors and are cheaper in the long run.
HOLDING THE PEN
Hold the pen so that the nib is above the feed and at about a 45 degree angle to the paper. It won’t write well if you hold it upside down or at too high or low of an angle.
Also, try not to twist the pen clockwise or counterclockwise in your hand. The tips of the two nib tines need to rest evenly on the page as you write. Otherwise the ink slit between them will lose contact with the page and cause the pen to skip or stop writing altogether.
WRITING PRESSURE
Fountain pens need a lot less writing pressure than a ballpoint or gel pen. In fact, too much pressure will prevent fountain pens from writing well and can even damage them. Many fountain pens can write without any pressure at all, while others require just a tiny bit of pressure.
Fountain pens should always be capped or retracted when you aren’t using them. Otherwise, the ink in the nib will dry out and the pen won’t work the next time you use it.
If your nib ever does dry out, you can usually get it writing again by scribbling for a bit or adding a drop of water to the nib to rehydrate the ink.
CLEANING YOUR PEN
Over time, fountain pens get clogged up with tiny paper fibers and microscopic bits of dust and dried ink. We recommend cleaning your pen every 1–2 months for best performance.
EXPERIMENT
Although writing with a fountain pen isn’t all that different from writing with any other pen, it can still take a bit of practice before it feels natural. We also recommend experimenting with a variety of inks, papers, and writing styles to see what works best for you and your pen.
Share


